Make Sand Mandalas
Sand mandala kits for a quiet, hands-on practice, made for busy minds. Pour, rub, scribe, and watch a mandala take shape one color at a time.
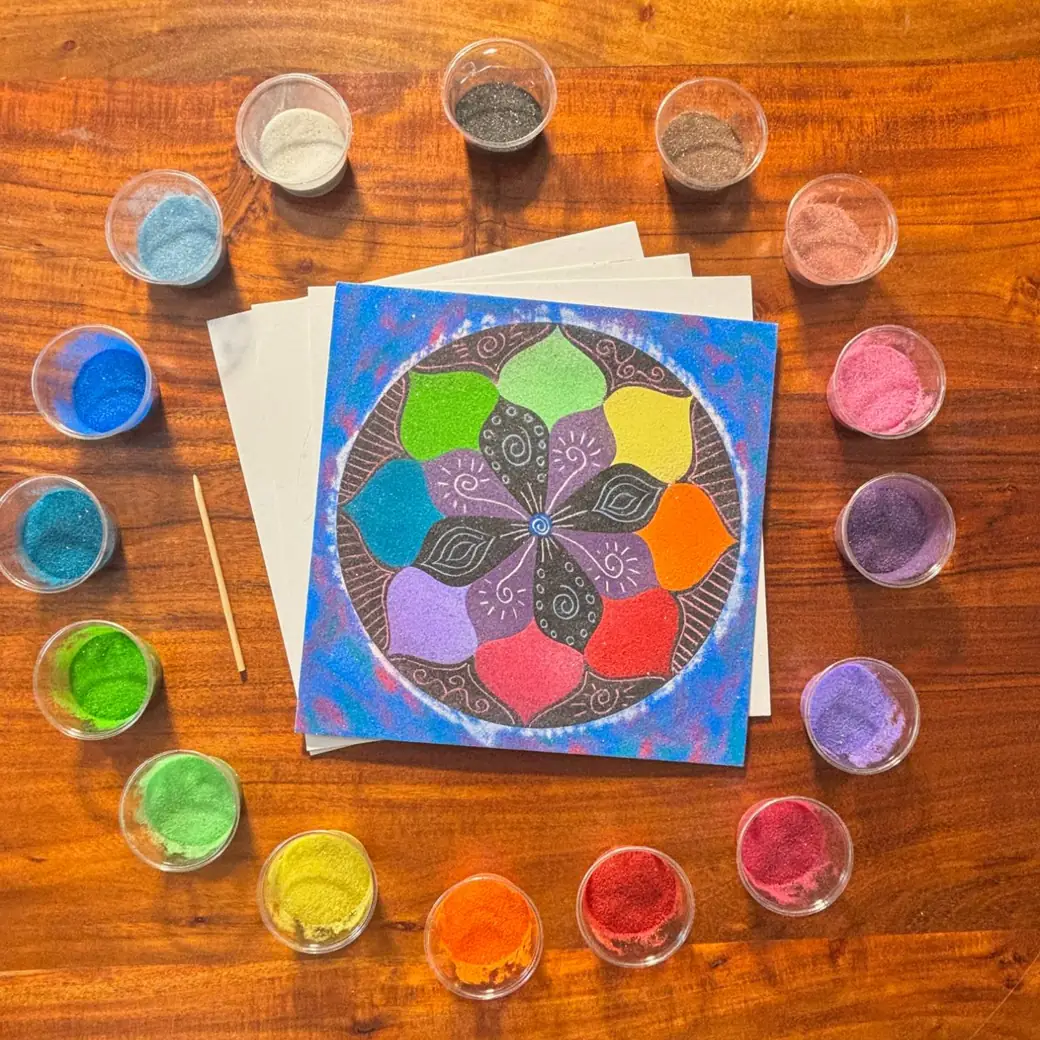
The circle of life. A circle of friends.
Mandala comes from the Sanskrit word for "circle." For centuries, cultures around the world have used the circle to express wholeness and calm. Our kits bring that tradition to your table in a personal way: a simple outline, sixteen colors of sparkling sand, and time set aside just for you.
Discover the story of mandalas at SandArtMandalas.com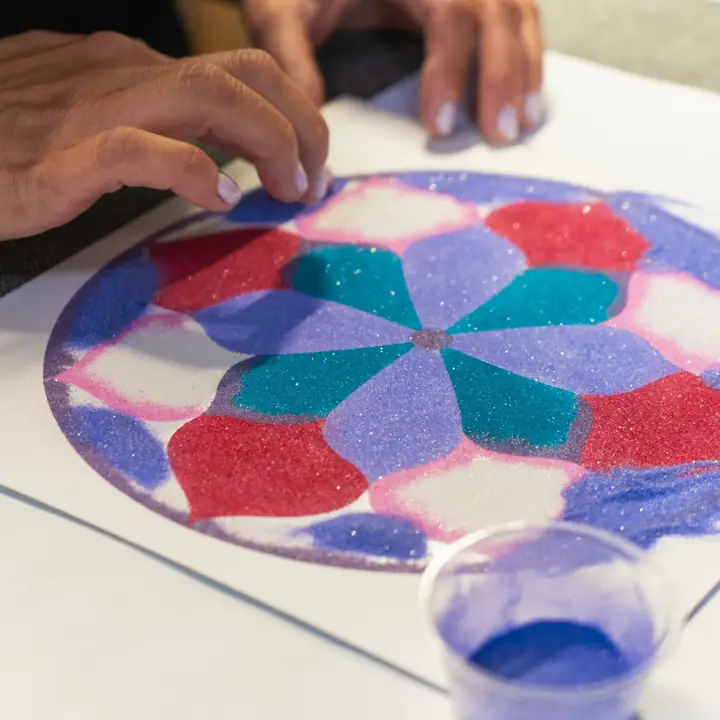
Calm
The feel of sand slows your breathing and quiets the noise. There's no screen and no rush, just the next section of color.

Create
You don't need to consider yourself an artist or creative. Every design starts as an outline, you choose how simple or detailed to make it, and we guide you along every step.
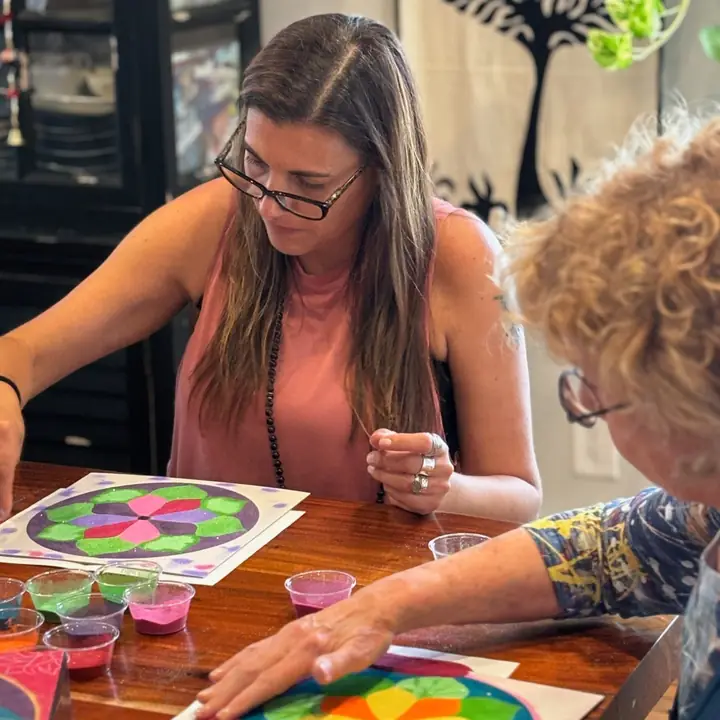
Connect
Make one alone as a ritual, or side by side with friends, family, or a group. The finished piece is a keepsake of the time you spent together.
Four steps to a finished mandala
- 1
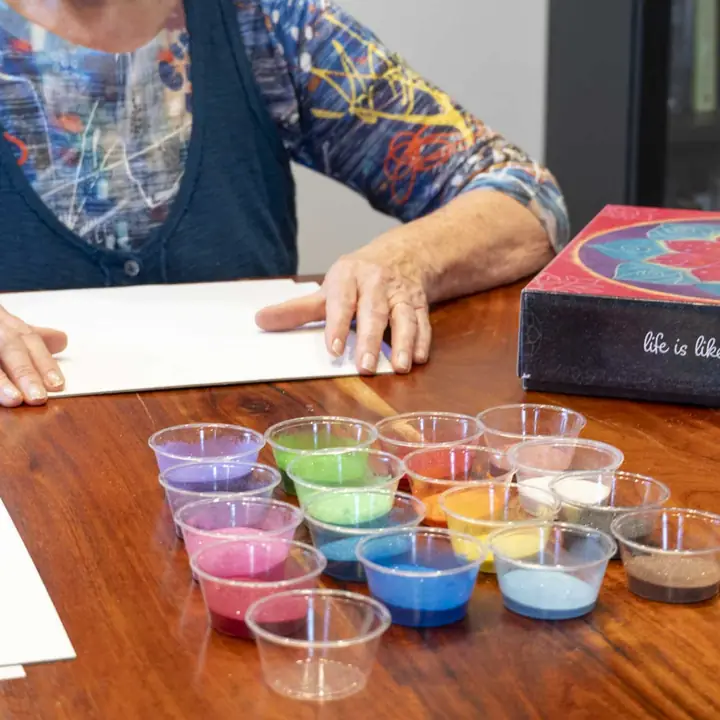
Set up and plan
Each kit includes four 10" self-adhesive mandala canvases, with instructions to guide you towards a personal mandala or a spiritual one.
- 2
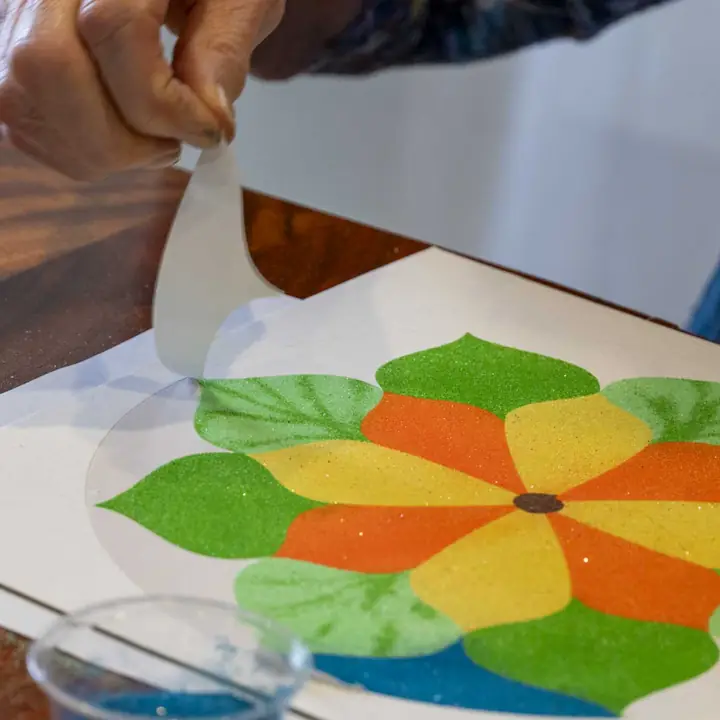
Peel to reveal adhesive
Peel away one area of the outline at a time. This exposes the adhesive that the sand sticks to.
- 3
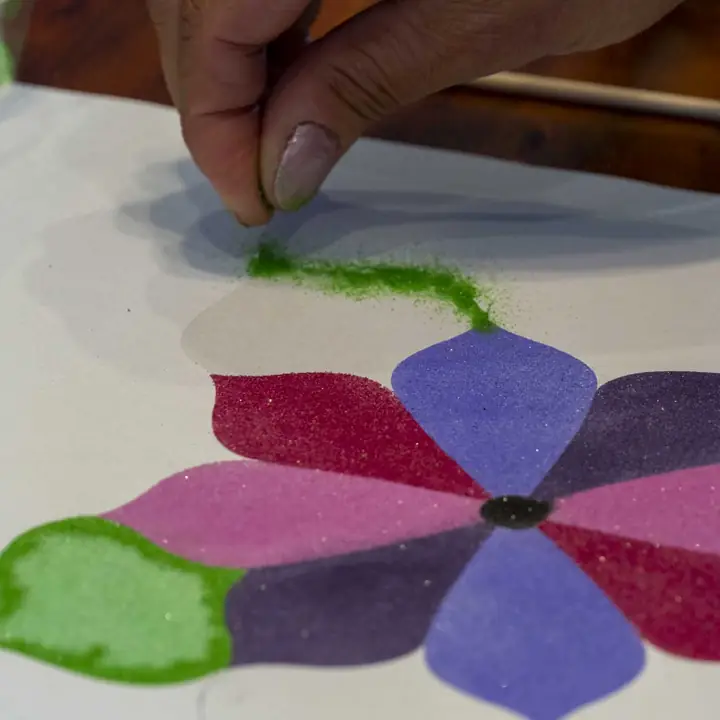
Pour & rub your colors
Using a combination of guided techniques, color in your entire sand art mandala canvas. Use the provided etching stylus to add designs.
- 4
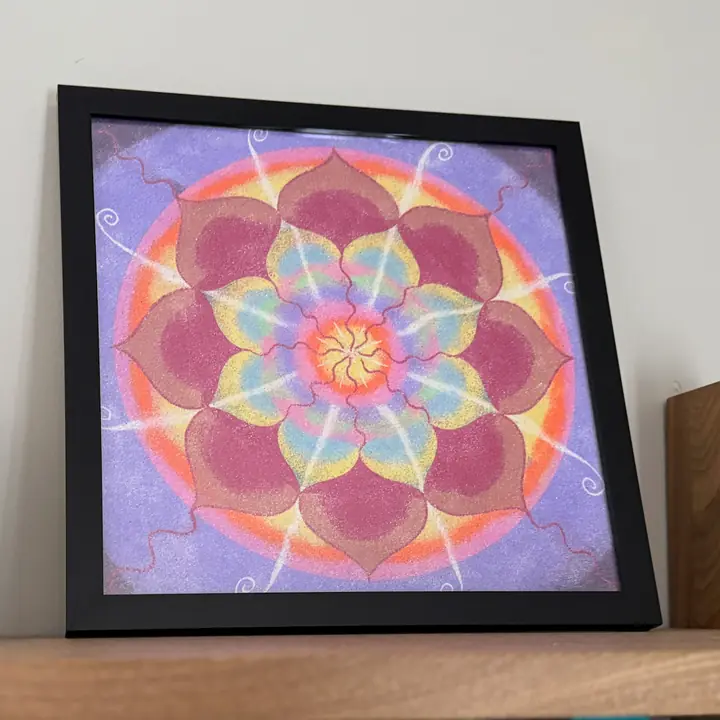
Protect & display
Slide your finished art into the protective sleeve and attach the hanger, or add it to a frame (sold separately)
The full technique guide and illustrated guidebook are included in the kit.
Why we paint with sandWhat our customers are saying
Perfect for people who need to de-stress, free their mind, or work through a complex thought or emotion.
Erin
A truly positive, fun experience. Great for relieving stress!
Marie
I love the feel of the sand - very soothing and fun.
Tracy
Ready to start your practice?
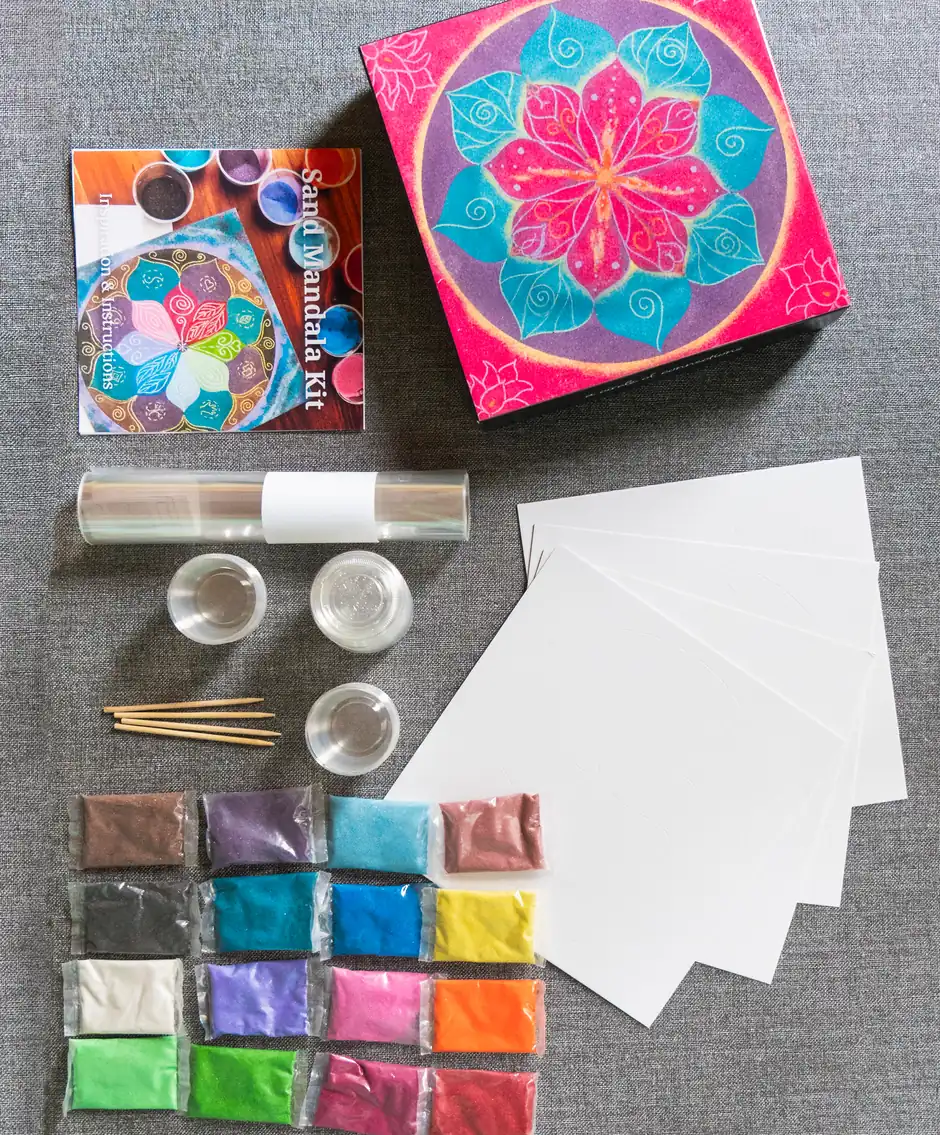
A modern take on an ancient art form
The Personal Sand Mandala Kit
A new way to use sand to create mandalas for mindfulness, self-expression, and cultural enrichment.
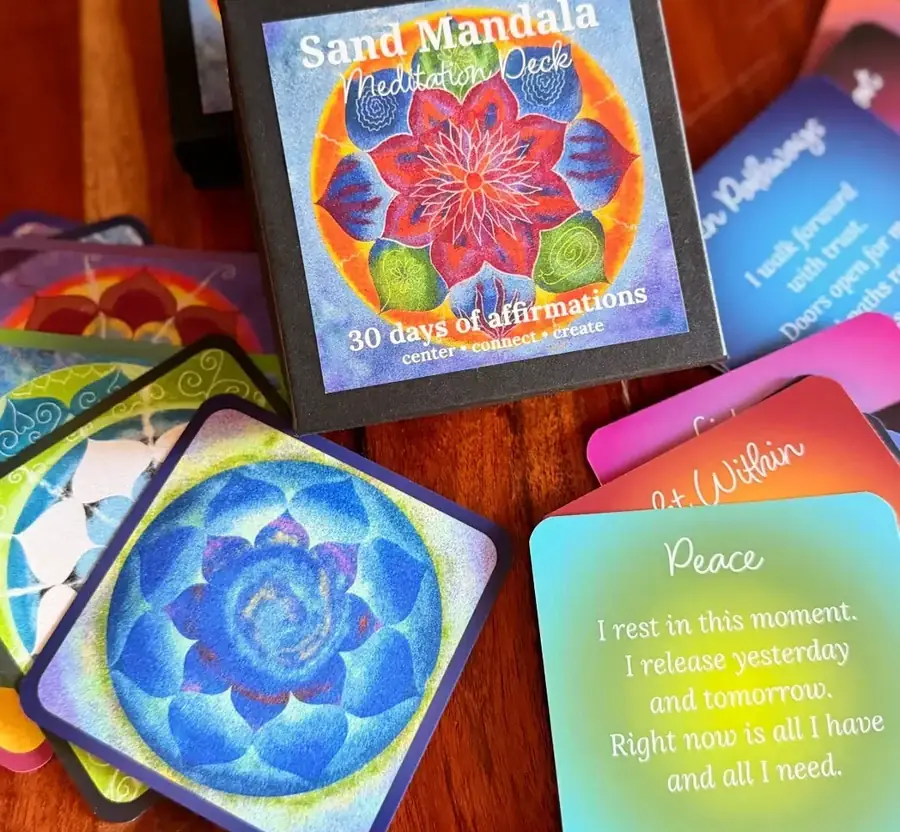
Center. Connect. Create.
Sand Mandala Meditation Deck
Discover 30 days of mindful meditation. Each card features a unique sand mandala and daily affirmation to inspire calm and creativity.
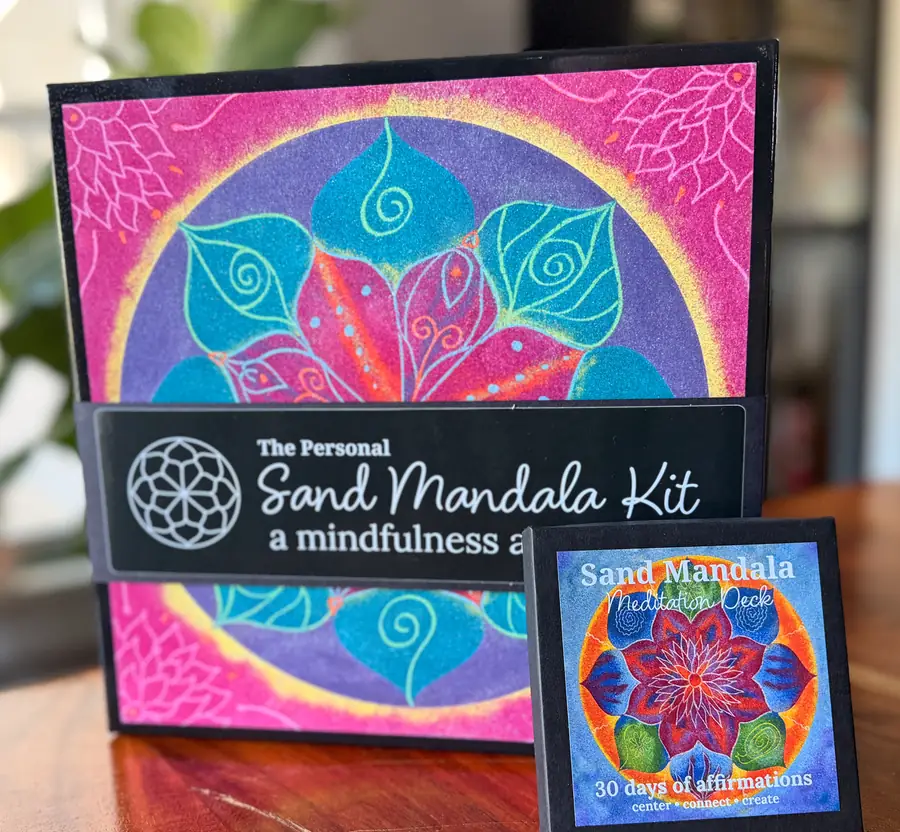
Center. Connect. Create.
The Mindful Creativity Bundle (Kit + Deck)
Make a mandala with the kit, then reflect with the deck. Both come together at a lower price than buying them separately.

Create together
Add some creative flair to your home
Making something meaningful which can be placed in your home as a reminder of your goals, your experiences and your calm, can be a soulful way to connect your mind to your actions.
Shop sand art extras and suppliesNo. Each design starts as an outline, and the kit walks you through each step.
It suits a wide audience, especially people who enjoy mindfulness activities, adult coloring and creative experiences. It is intended for adults and teens in a mindful process, which takes a level of maturity. The materials are safe (watch out for the pointy stick) and the instructions are easy.
The sand and other art materials are non-toxic, and the colored sand is free from the nine major food allergens. The art sand is produced in North America. The wooden stylus has a pointed end and should be used with care.
Yes. Slide it into the clear sleeve that comes in your kit while the sand is fresh, or add it to a frame (sold separately). To protect it further, wait a few days for the adhesive to harden, then gently sponge on an even coat of glossy decoupage glue.
Read why we paint with sand, or watch our video tutorials.

Your next calm moment starts with a circle
Get mindful making ideas, new designs, and early access to new kits.